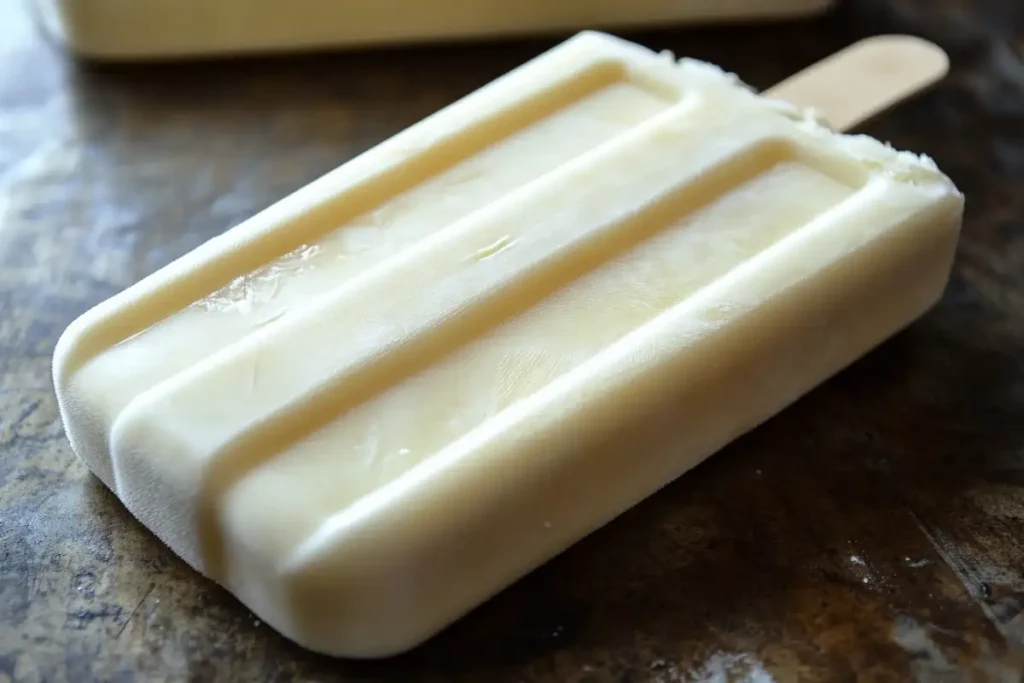
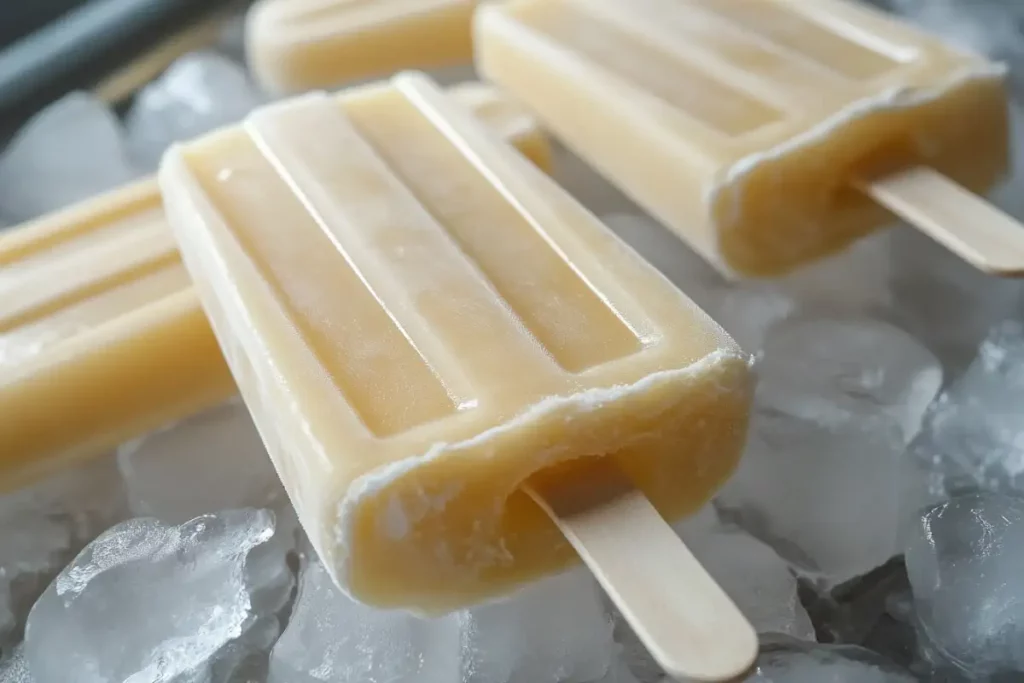
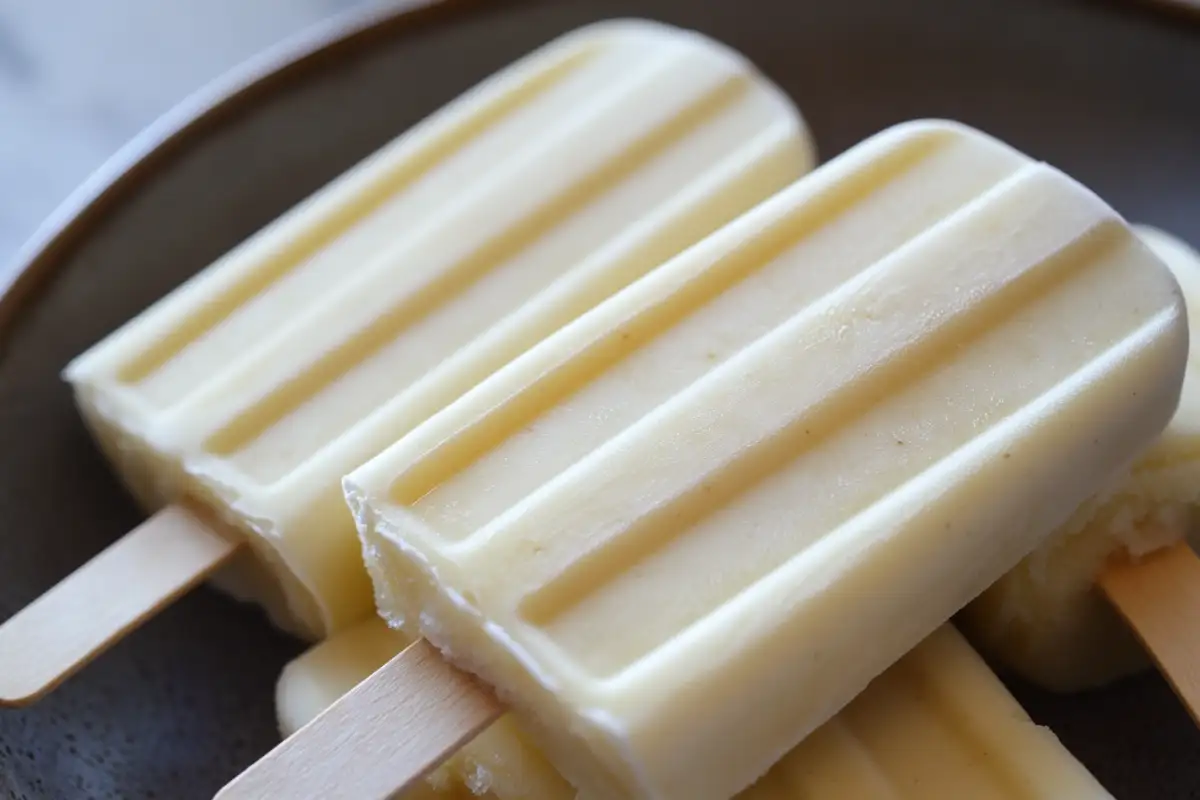
When it comes to frozen treats, few things evoke nostalgia quite like an Eskimo Pie. This classic dessert combines the rich creaminess of ice cream with the decadent crunch of a chocolate coating, all in a convenient handheld form. Now, imagine making this iconic treat at home, tailored to your taste and preferences. Enter the homemade Eskimo Pie popsicle recipe—a delightful twist on the original, perfect for cooling off on a hot day or satisfying a sweet tooth. In this article, we’ll walk you through everything you need to know to create this irresistible dessert, from selecting the finest ingredients to presenting your popsicles with flair.
Why This Homemade Eskimo Pie Popsicle Recipe is a Must-Try
There are countless reasons to fall in love with this homemade Eskimo Pie popsicle recipe. First and foremost, it offers a perfect blend of creamy and crunchy textures, making it a satisfying treat for both kids and adults. Unlike store-bought versions, this recipe allows you to control the quality of the ingredients, ensuring a fresher and healthier dessert. Additionally, making your own Eskimo Pie popsicles is an opportunity to get creative—you can experiment with flavors, coatings, and even the type of chocolate used. Whether you’re hosting a summer barbecue, looking for a fun family activity, or simply craving a sweet indulgence, this recipe is sure to impress. Moreover, the satisfaction of biting into a homemade treat that rivals anything you can buy in stores is well worth the effort.
Key Ingredients for the Homemade Eskimo Pie Popsicle Recipe

1. Ice Cream Base
- Vanilla Ice Cream: The classic choice for this homemade Eskimo Pie popsicle recipe, vanilla ice cream provides a smooth, creamy base that contrasts beautifully with the chocolate coating. Look for high-quality vanilla ice cream, preferably one made with real vanilla beans, to enhance the flavor. For a more personalized touch, consider making your own vanilla ice cream at home using a mixture of heavy cream, whole milk, sugar, and vanilla extract.
- Alternative Flavors: While vanilla is traditional, you can switch things up by using other ice cream flavors like chocolate, strawberry, or mint chip. These variations can add an extra layer of excitement to your popsicles.
2. Chocolate Coating
- Semisweet Chocolate: Semisweet chocolate strikes the perfect balance between sweetness and bitterness, making it ideal for the outer coating in this homemade Eskimo Pie popsicle recipe. When choosing your chocolate, opt for high-quality brands with a cocoa content of at least 60%. This will ensure a rich, decadent flavor that complements the creamy ice cream inside.
- Coconut Oil: Adding coconut oil to the melted chocolate helps create a smooth, glossy finish that hardens quickly when dipped. This oil also adds a subtle hint of coconut flavor, enhancing the overall taste. If you prefer a more neutral flavor, you can use vegetable oil instead.
3. Popsicle Sticks and Molds
- Popsicle Molds: Invest in a set of popsicle molds to shape your Eskimo Pie popsicles. Silicone molds are particularly user-friendly as they allow for easy removal of the popsicles without damaging the shape.
- Popsicle Sticks: Wooden popsicle sticks are essential for creating the classic handheld experience. Make sure to insert them into the ice cream before freezing to ensure they stay securely in place.
Ingredient Alternatives and Tips
- Dairy-Free Options: For those who are lactose intolerant or following a vegan diet, there are plenty of dairy-free ice cream options available made from coconut, almond, or oat milk. Similarly, choose dairy-free chocolate to keep the recipe vegan.
- Sugar-Free Variations: If you’re looking to reduce sugar content, opt for sugar-free ice cream and chocolate sweetened with alternatives like stevia or erythritol. These substitutes allow you to enjoy a guilt-free treat without compromising on taste.
Instructions for the Homemade Eskimo Pie Popsicle Recipe
1. Prepare the Ice Cream
- Start by softening your ice cream. Take it out of the freezer and let it sit at room temperature for about 10 minutes. The ice cream should be soft enough to easily spoon into the molds, but not melted.
- Spoon the softened ice cream into your popsicle molds, pressing it down firmly to remove any air pockets. Make sure the molds are filled evenly.
- Insert popsicle sticks into the center of each mold, then place the molds in the freezer. Freeze for at least 4-6 hours, or until the ice cream is completely solid.
2. Melt the Chocolate
- While the ice cream is freezing, prepare the chocolate coating. In a microwave-safe bowl, combine the semisweet chocolate chips and coconut oil.
- Microwave the mixture in 30-second intervals, stirring in between, until the chocolate is fully melted and smooth. Be careful not to overheat the chocolate, as this can cause it to seize up.
- Once melted, let the chocolate cool slightly. It should be warm but not hot to the touch. This will help it coat the ice cream evenly without melting it.
3. Coat the Popsicles
- Once the ice cream is fully frozen, carefully remove the popsicles from their molds. If you’re using silicone molds, you can usually just peel them back gently. For harder molds, dipping them in warm water for a few seconds can help release the popsicles.
- Dip each popsicle into the melted chocolate, tilting and rotating it to ensure an even coating. The chocolate should harden almost instantly upon contact with the cold ice cream. You can dip the popsicles a second time for a thicker coating if desired.
- Place the coated popsicles on a parchment-lined baking sheet and return them to the freezer for about 10 minutes to allow the chocolate to fully set.
4. Serve and Enjoy
- Once the chocolate coating is firm, your homemade Eskimo Pie popsicles are ready to enjoy! Serve them immediately or store them in an airtight container in the freezer for up to two weeks.
Pro Tips for Success
- Work Quickly: When coating the popsicles in chocolate, it’s important to work quickly to prevent the ice cream from melting. Having everything set up and ready to go before you start dipping will help you move efficiently.
- Use Quality Chocolate: The better the chocolate, the better the final result. Investing in high-quality chocolate ensures a smooth, rich coating that makes all the difference.
- Custom Coatings: For added flair, roll the freshly dipped popsicles in crushed nuts, sprinkles, or coconut flakes before the chocolate hardens. This extra layer adds both flavor and visual appeal.
If you’re a fan of this recipe, you’ll definitely want to make our Huckleberry Ice Cream Recipe.
Serving Suggestions for the Homemade Eskimo Pie Popsicle Recipe
Presenting your homemade Eskimo Pie popsicles can be as simple or as elaborate as you like. For a casual, family-friendly treat, serve the popsicles on a tray lined with parchment paper. If you’re hosting a party or special occasion, consider arranging the popsicles on a platter with a variety of toppings on the side, such as crushed nuts, sprinkles, and sauces. Guests can dip their popsicles into these toppings for a fun, interactive dessert experience.
To make your Eskimo Pie popsicles stand out, consider these creative serving ideas:
- Garnish with Fresh Fruit: Serve the popsicles alongside fresh berries or slices of fruit. The bright colors and fresh flavors will complement the rich chocolate and creamy ice cream.
- Pair with Drinks: For an adult twist, pair the popsicles with a chilled glass of dessert wine or a creamy liqueur like Baileys. The combination is indulgent and perfect for a sophisticated gathering.
- Themed Presentation: Customize the presentation to match the occasion. For example, you could serve the popsicles on a bed of ice for a summer pool party or decorate them with edible glitter for a festive holiday event.
No matter how you choose to serve them, these homemade Eskimo Pie popsicles are sure to be a hit with anyone who tries them.
Variations and Dietary Adaptations for the Homemade Eskimo Pie Popsicle Recipe

One of the best things about making homemade Eskimo Pie popsicles is the opportunity to experiment with different flavors and adaptations. Here are some ideas to get you started:
1. Flavor Variations
- Mint Chocolate Chip: Swap the vanilla ice cream for mint chocolate chip and use dark chocolate for the coating. The refreshing mint flavor pairs beautifully with the rich chocolate.
- Peanut Butter Swirl: Mix swirls of peanut butter into the vanilla ice cream before freezing. For the coating, use milk chocolate and sprinkle crushed peanuts on top for added crunch.
- Cookies and Cream: Blend crushed chocolate sandwich cookies into the vanilla ice cream. Dip the popsicles in white chocolate for a twist on the traditional flavor.
2. Dietary Adaptations
- Vegan Eskimo Pie: Use dairy-free vanilla ice cream made from coconut or almond milk, and coat the popsicles in dark chocolate that’s free of milk solids. The result is just as creamy and delicious as the original.
- Gluten-Free Option: Ensure all ingredients are gluten-free, including the chocolate and any added toppings like crushed cookies or nuts.
- Low-Sugar Version: Opt for sugar-free ice cream and chocolate sweetened with stevia or another sugar substitute. This version is perfect for those watching their sugar intake.
3. Personal Touches
- Fruit-Infused Popsicles: Add fresh fruit like strawberries or raspberries to the ice cream molds before filling them with ice cream. The fruit adds a burst of flavor and color.
- Double Chocolate: Use chocolate ice cream instead of vanilla, and coat the popsicles in both milk and dark chocolate for a truly indulgent treat.
These variations allow you to tailor this homemade Eskimo Pie popsicle recipe to your tastes and dietary needs, making it a versatile addition to your dessert repertoire.
Frequently Asked Questions (FAQs)
1. Can I use store-bought ice cream for this homemade Eskimo Pie popsicle recipe?
Absolutely! While homemade ice cream adds a personal touch, high-quality store-bought ice cream works perfectly well for this recipe.
2. How long do the popsicles need to freeze before dipping in chocolate?
The popsicles should freeze for at least 4-6 hours, but overnight is best to ensure they are completely solid and won’t melt when dipped in warm chocolate.
3. What can I use instead of coconut oil in the chocolate coating?
If you’re not a fan of coconut oil, you can substitute it with vegetable oil or butter. These alternatives will also help create a smooth, shiny coating.
4. How should I store leftover popsicles from this homemade Eskimo Pie popsicle recipe?
Store any leftover popsicles in an airtight container in the freezer. To prevent them from sticking together, separate each popsicle with a piece of parchment paper.
5. Can I make these popsicles without popsicle molds?
Yes, you can! Use small paper cups as molds, inserting the popsicle sticks once the ice cream is slightly firm. Peel away the cups before dipping the popsicles in chocolate.
6. What if my chocolate doesn’t harden quickly?
Ensure the popsicles are fully frozen before dipping. If the chocolate still doesn’t harden quickly, place the popsicles on a cold baking sheet and return them to the freezer immediately after coating.
Conclusion
Creating homemade Eskimo Pie popsicles is not only a fun and rewarding activity but also a way to indulge in a classic treat with a personalized twist. Whether you stick to the traditional vanilla and chocolate combination or experiment with new flavors and dietary adaptations, this recipe is sure to delight your taste buds and impress your friends and family. With its combination of creamy ice cream and crisp chocolate coating, this frozen dessert is the perfect way to cool down on a hot day or satisfy your sweet tooth any time of year. So, gather your ingredients, unleash your creativity, and get ready to enjoy the simple pleasure of a homemade Eskimo Pie popsicle. Don’t forget to share your creations and experiment with different variations—there’s no limit to the delicious possibilities!
