There’s something truly magical about baking your own bread. The simple act of mixing flour, water, and a few other ingredients transforms into a warm, aromatic loaf that fills your home with the comforting scent of fresh bread. But when you take that extra step and use freshly milled flour, you elevate the experience to a whole new level. You can practically taste the difference—a richer, more complex flavor that’s hard to find in store-bought bread. In this article, I’ll take you through the delightful process of making bread with freshly milled flour, share some tips and tricks, and give you the confidence to try this recipe at home.
Why You’ll Love This Fresh Milled Flour Bread Recipe.
First, let’s talk about why this recipe is a must-try. Fresh milled flour bread isn’t just about making bread; it’s about embracing a tradition that goes back centuries. There’s a sense of connection to the past when you mill your own flour, knowing that you’re baking bread the way our ancestors did. But don’t worry—this recipe is as simple as it is satisfying.
One of the standout reasons to bake with freshly milled flour is the flavor. When you grind your own wheat, you unlock the full potential of the grain. The flour is packed with nutrients and flavor that you just can’t get from pre-packaged flour. You’ll notice a subtle sweetness, a hint of earthiness, and a depth that makes every bite a treat. Plus, you can experiment with different types of grains, such as spelt, einkorn, or rye, to create unique flavor profiles.
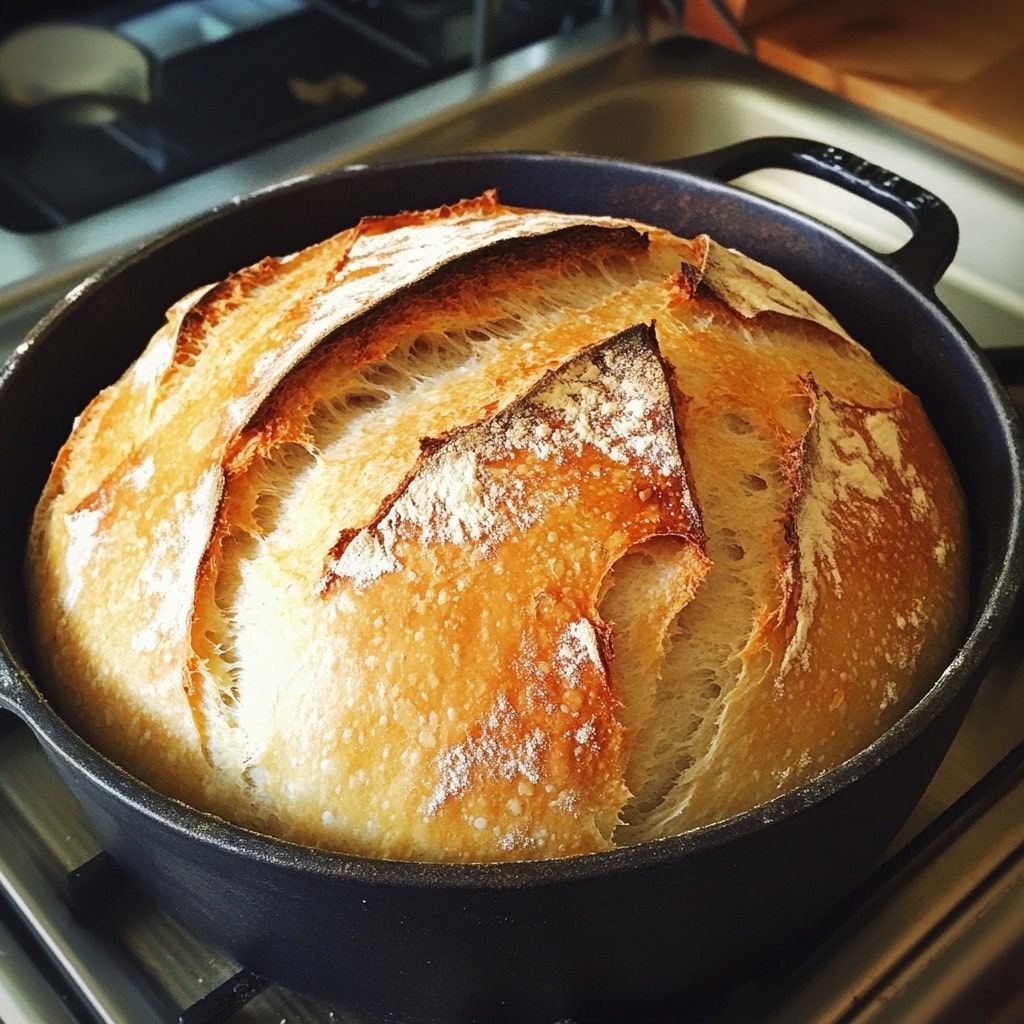
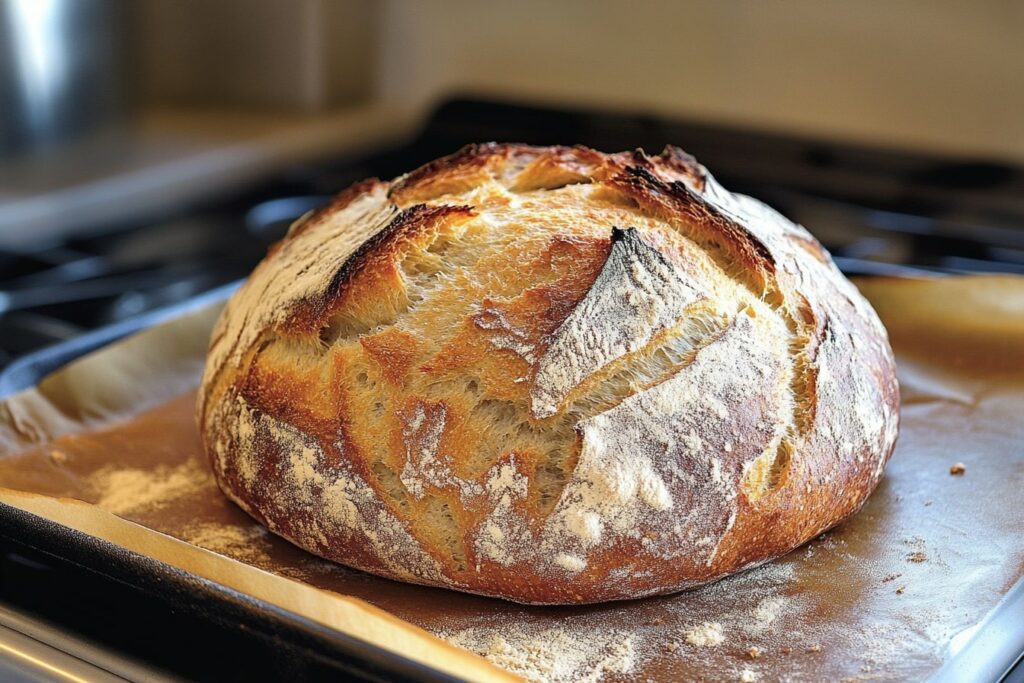
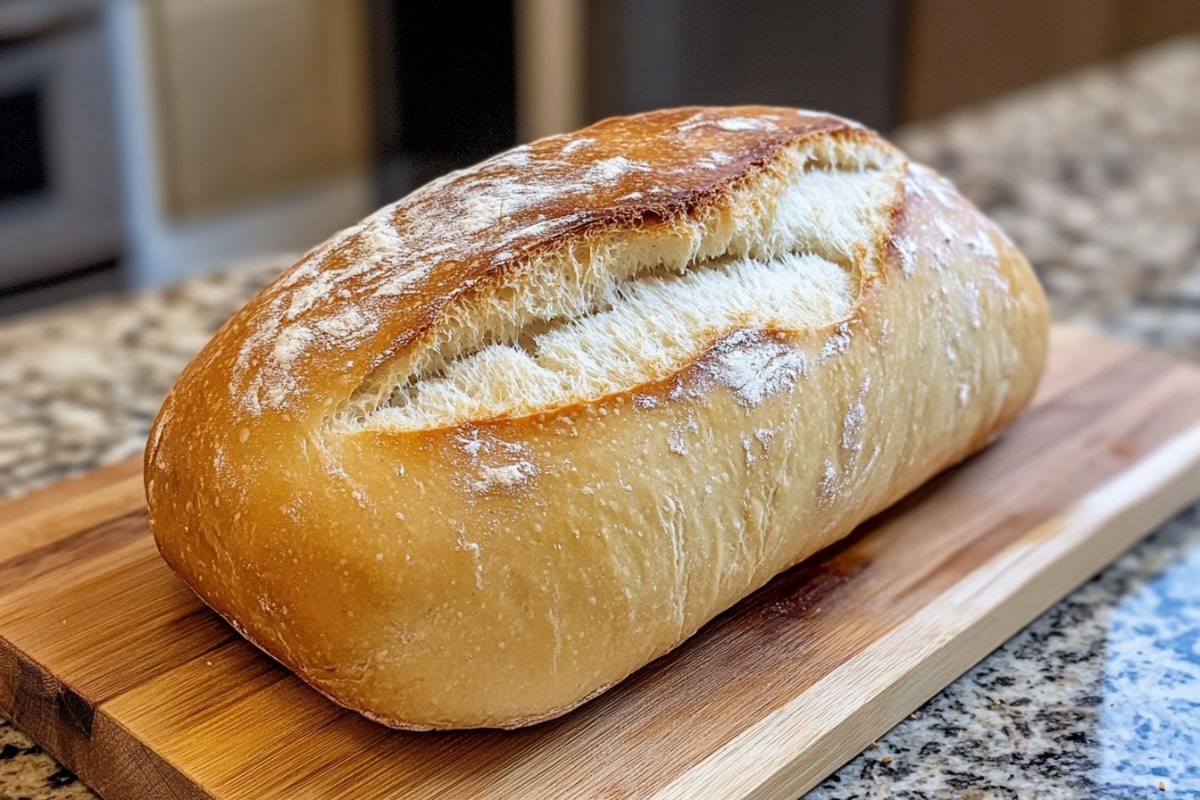
Another reason to love this recipe is the texture. Fresh milled flour creates a dough that’s lively and responsive, making the bread softer and more flavorful. The crust is beautifully golden and crisp, while the interior remains tender and airy. This bread is perfect for everything from hearty sandwiches to a simple, satisfying slice with butter.
Finally, this recipe is all about simplicity. Whether you’re a seasoned baker or a newbie in the kitchen, you’ll find that making bread with freshly milled flour is surprisingly easy. I’ve broken down the process into clear, manageable steps, so you can follow along without feeling overwhelmed. By the end of this article, you’ll have a loaf that you’ll be proud to share—and maybe even a new favorite baking tradition.
You may also like : Dakota Bread Recipe
Key Ingredients for Fresh Milled Flour Bread

Let’s start with the stars of the show: the ingredients. The beauty of this recipe lies in its simplicity—just a few basic ingredients come together to create something truly special. Here’s what you’ll need:
Freshly Milled Flour
The foundation of this bread is, of course, freshly milled flour. If you’ve never milled your own flour before, don’t worry—it’s easier than it sounds. All you need is a grain mill and some high-quality wheat berries. Hard red wheat is a great all-purpose choice, but you can experiment with other varieties like hard white wheat, spelt, or even rye for different flavors and textures.
When you mill your own flour, you’re getting the whole grain, including the bran, germ, and endosperm. This means more fiber, nutrients, and flavor in your bread. If you don’t have a grain mill, you can often find freshly milled flour at local farmers’ markets or specialty stores. However, I highly recommend trying your hand at milling—it’s a game-changer!
Water
Water is a key ingredient in bread making, and the quality of your water can impact the final product. Use filtered or spring water if possible, as chlorine and other chemicals in tap water can affect the yeast’s performance. The temperature of the water is also important—lukewarm water, around 110°F, helps activate the yeast without killing it.
Yeast
Active dry yeast or instant yeast works well in this recipe. If you prefer a more rustic flavor, you can even use a sourdough starter instead. Just keep in mind that sourdough requires a longer fermentation time. Yeast is what makes the bread rise, creating that light, airy texture we all love.
Salt
Salt isn’t just for flavor—it also strengthens the dough and controls the fermentation process. Use a high-quality sea salt or kosher salt for the best results. Avoid iodized table salt, as it can have an off flavor and affect the yeast.
Honey or Sweetener
A touch of sweetness helps balance the flavors and feeds the yeast, giving your bread a nice rise. Honey is my go-to choice for its natural flavor, but you can also use maple syrup, agave, or even a pinch of sugar. If you’re vegan, just swap the honey for your preferred sweetener.
Oil or Butter
Adding a bit of fat to the dough helps create a tender crumb and extends the shelf life of your bread. Olive oil, avocado oil, or melted butter are all excellent options. For a richer flavor, try using a flavored oil, like rosemary or garlic-infused oil.
Optional Add-Ins
Once you’ve mastered the basic recipe, you can have fun experimenting with add-ins. Think seeds like sunflower or flax, nuts, dried fruits, or even herbs and spices. These additions can give your bread a unique twist and make it even more delicious.
Step-by-Step Instructions: How to Make Fresh Milled Flour Bread
Now that we’ve covered the ingredients, let’s get to the fun part—baking! Making bread with fresh milled flour is a rewarding process, and with these step-by-step instructions, you’ll be enjoying a warm, homemade loaf in no time.
Step 1: Mill Your Flour
Start by milling your flour. Measure out your wheat berries, and grind them in your grain mill according to the manufacturer’s instructions. For this recipe, you’ll need about 4 cups of freshly milled flour. The flour will be slightly warm and full of life—perfect for baking.
Step 2: Activate the Yeast
In a large mixing bowl, combine 1 cup of warm water (110°F), 2 teaspoons of honey, and 2 ¼ teaspoons of active dry yeast (or one packet). Stir gently and let it sit for 5-10 minutes, until the mixture becomes frothy. This step is crucial—it shows that your yeast is alive and ready to work its magic.
Step 3: Mix the Dough
Once the yeast is activated, add 3 cups of the freshly milled flour to the bowl, along with 1 ½ teaspoons of salt and 2 tablespoons of oil or melted butter. Begin mixing with a wooden spoon or dough whisk until the dough starts to come together. Gradually add the remaining 1 cup of flour as needed, until the dough is soft but not sticky.
Step 4: Knead the Dough
Turn the dough out onto a floured surface and start kneading. Use the heel of your hand to push the dough away, then fold it back over itself. Continue kneading for about 10 minutes, until the dough is smooth and elastic. If you’re new to kneading, don’t worry—just keep working the dough until it feels springy and bounces back when you press it.
Step 5: First Rise
Place the dough in a lightly oiled bowl, turning it to coat all sides. Cover the bowl with a damp cloth or plastic wrap, and let it rise in a warm, draft-free spot for about 1-2 hours, or until it has doubled in size. This is the time to be patient—letting the dough rise slowly develops the flavor and texture of the bread.
Step 6: Shape the Dough
Once the dough has risen, punch it down gently to release the gas bubbles. Turn it out onto a floured surface and shape it into a loaf. You can shape it into a round boule, an oval, or place it into a loaf pan for a more traditional shape. If you like, sprinkle some seeds or oats on top for added texture.
Step 7: Second Rise
Transfer the shaped dough to a parchment-lined baking sheet or a greased loaf pan. Cover it loosely with a cloth and let it rise again for about 45 minutes to an hour, until it has puffed up and almost doubled in size. Meanwhile, preheat your oven to 375°F.
Step 8: Bake the Bread
When the dough is ready, make a few slashes on the top with a sharp knife to allow steam to escape during baking. This also gives the bread a beautiful finish. Place the bread in the pre
heated oven and bake for 30-35 minutes, or until the crust is golden brown and the bread sounds hollow when tapped on the bottom.
Step 9: Cool and Enjoy
Remove the bread from the oven and let it cool on a wire rack for at least 20 minutes before slicing. This waiting time is essential—it allows the bread to finish cooking inside and makes slicing easier. Once cooled, slice into your beautiful, homemade bread and enjoy!
Serving Suggestions for Fresh Milled Flour Bread

There’s nothing quite like the satisfaction of presenting a freshly baked loaf of bread. When it comes to serving, a little creativity goes a long way. Here are a few ideas to make your fresh milled flour bread the star of the table.
Plating Techniques
For a rustic look, serve the bread on a wooden cutting board with a bread knife beside it. If you’re hosting a dinner, consider slicing the bread in advance and arranging the slices in a bread basket lined with a linen cloth. This keeps the bread warm and adds a cozy, homey feel to the presentation.
Garnishes
If you’re serving the bread as an appetizer, pair it with a selection of spreads like herb-infused butter, olive tapenade, or homemade jam. A sprig of fresh rosemary or thyme on the side adds a touch of elegance and hints at the flavors within.
Pairing Suggestions
This bread is incredibly versatile and pairs well with a variety of dishes. Serve it alongside a hearty stew, a fresh salad, or as the base for a sandwich loaded with your favorite fillings. For breakfast, toast a slice and top it with avocado, a drizzle of honey, or even a poached egg.
Adapting for Occasions
For casual family dinners, keep it simple and let the bread speak for itself. But if you’re celebrating a special occasion, consider shaping the dough into rolls or braids for a more festive presentation. You can even bake the bread in a decorative mold for a unique touch.
Variations for Fresh Milled Flour Bread
One of the joys of baking your own bread is the ability to experiment with flavors and ingredients. Whether you’re catering to dietary needs or just looking to try something new, here are some ideas to customize your fresh milled flour bread.
Flavor Variations
- Whole Grain Blend: Mix different grains like spelt, rye, or einkorn with your wheat for a complex, multi-grain loaf. Each grain adds its own unique flavor and texture.
- Seeded Bread: Add a mix of seeds like sunflower, flax, chia, or sesame to the dough for extra crunch and flavor. You can even roll the dough in seeds before the second rise for a stunning crust.
- Herb and Garlic: For a savory twist, knead in fresh herbs like rosemary, thyme, or basil, along with minced garlic. This makes a perfect accompaniment to pasta dishes or soups.
Dietary Adaptations
- Vegan: Swap the honey for maple syrup or agave, and use olive oil instead of butter. The result is a delicious, plant-based loaf that everyone can enjoy.
- Gluten-Free: If you’re gluten-sensitive, use a gluten-free grain like buckwheat or quinoa. Keep in mind that gluten-free breads require different handling and may not rise as much, but the flavor will still be wonderful.
- Low-Sodium: Reduce the salt by half or eliminate it altogether. You can add flavor with herbs or a sprinkle of salt on the crust before baking.
Personal Touches
Don’t be afraid to make this recipe your own! Add your favorite spices, try different sweeteners, or experiment with the baking time to achieve the perfect crust. Have fun with it, and remember—there’s no right or wrong way to bake bread.
FAQs About Fresh Milled Flour Bread
1. Can I use store-bought flour instead of freshly milled flour?
Yes, you can use store-bought whole wheat flour, but the flavor and texture may differ. Freshly milled flour offers a more vibrant flavor and better nutritional profile.
2. How do I store freshly milled flour bread?
Store the bread in a paper bag or bread box at room temperature for up to three days. For longer storage, slice and freeze the bread, then toast slices as needed.
3. Can I make this bread without a grain mill?
Absolutely! You can purchase freshly milled flour from a local mill or health food store. Just be sure it’s as fresh as possible for the best flavor.
4. Why didn’t my bread rise properly?
Several factors could be at play, such as inactive yeast, too cold or too hot water, or over-kneading. Make sure to follow the instructions closely and keep your yeast fresh.
5. Can I use a bread machine for this recipe?
Yes, you can use a bread machine, but for the best texture and flavor, I recommend following the traditional method outlined here.
6. What’s the best way to slice homemade bread?
Use a serrated bread knife and let the bread cool completely before slicing to avoid squashing the loaf.
Conclusion: A Slice of Homemade Happiness
Baking bread with fresh milled flour is more than just a kitchen task—it’s an experience that connects you to the essence of home cooking. There’s a certain satisfaction in knowing that you’ve crafted something from scratch, using wholesome ingredients that you’ve carefully chosen. The aroma, the taste, the warmth—everything about this bread is comforting and satisfying.
I hope this recipe inspires you to try your hand at baking with freshly milled flour. Whether you’re a seasoned baker or a beginner, this bread is a great way to explore the joys of homemade baking. Don’t be afraid to experiment with flavors, adjust the recipe to suit your preferences, and make it your own. After all, the best recipes are the ones that evolve with each baker’s touch.
So, what are you waiting for? Grab your ingredients, preheat your oven, and get ready to fill your home with the irresistible smell of fresh bread. And when you take that first bite, remember—you made this. And it’s absolutely delicious.
