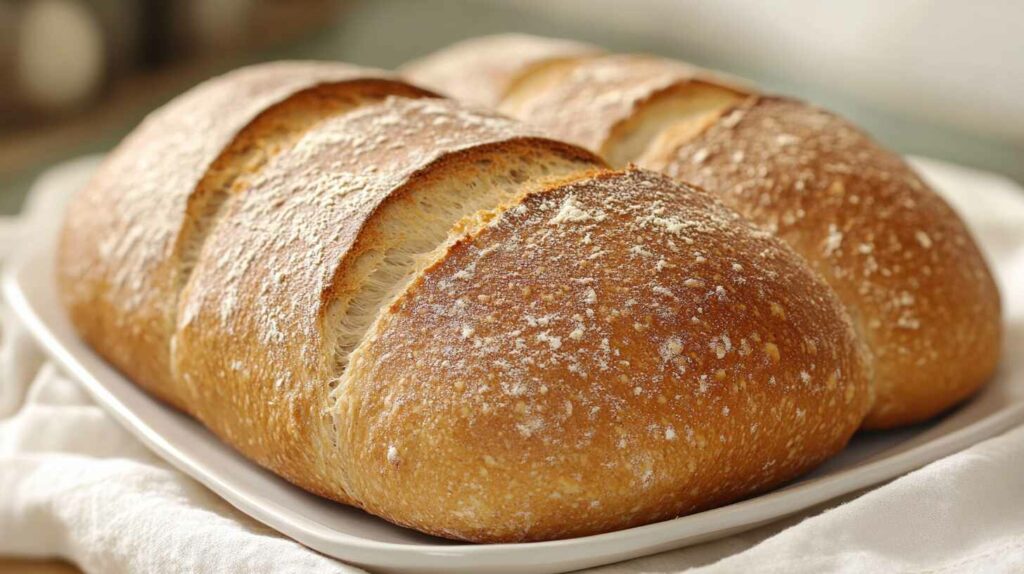
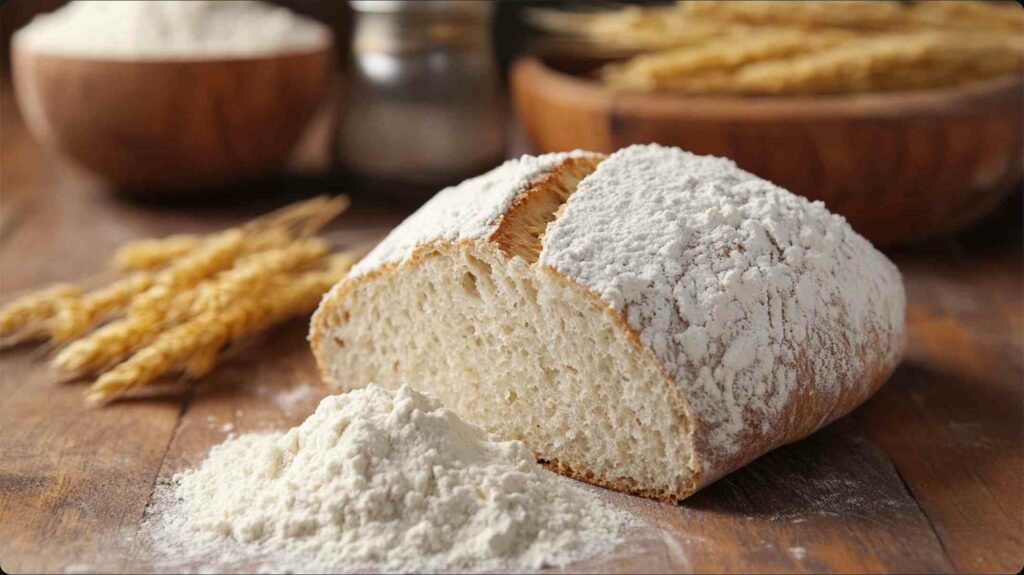
There’s something undeniably special about baking your own bread, especially when you start with fresh ground flour. The aroma of a freshly baked loaf filling your kitchen, the satisfying crunch of a crisp crust, and the rich, hearty flavor of whole grains—it’s a sensory experience that’s hard to beat. When you use fresh ground flour, this experience becomes even more rewarding, as the depth of flavor, nutrition, and texture is unmatched.
Grinding whole grains at home preserves more nutrients and delivers a richer flavor than store-bought flour. When you bake bread with fresh ground flour, you’re creating a loaf that’s not only incredibly delicious but also packed with wholesome goodness.
In this guide, we’ll explore how to make a simple yet delectable loaf of bread using fresh ground flour. From the essential ingredients to step-by-step instructions, plus tips for variations and dietary adaptations, we’ve got you covered.
Why Bake with Fresh Ground Flour?
Baking bread with fresh ground flour offers unique benefits that make the extra effort truly worthwhile:
- Nutritional Superiority: Fresh ground flour retains all parts of the grain—bran, germ, and endosperm—ensuring your bread is packed with vitamins, minerals, fiber, and healthy fats. Commercially processed flour often loses these nutrients.
- Rich, Nutty Flavor: Freshly ground flour has a robust, complex flavor that’s simply superior to store-bought options. It imparts a slightly nutty, earthy taste that elevates your bread to the next level.
- No Additives: When you grind your own flour and bake your own bread, you control the ingredients, avoiding the preservatives and additives commonly found in commercial bread.
- A Deeply Satisfying Process: There’s something incredibly rewarding about baking bread from scratch, especially when you’ve ground the flour yourself. It connects you to the time-honored tradition of bread-making.
- Versatile and Adaptable: This recipe is flexible and can be easily tailored to suit your tastes and dietary needs. Whether you want to make it gluten-free, add seeds and grains, or try different types of wheat, the possibilities are endless.
Key Ingredients

To make the best bread with fresh ground flour, you’ll need a few essential ingredients. Here’s what they are and why they matter:
1. Fresh Ground Flour
The centerpiece of this recipe is fresh ground flour. You can use whole wheat, spelt, or a combination of grains depending on your preference. Whole wheat is a popular choice for its hearty flavor and nutritional benefits.
- Pro Tip: Grind your flour just before baking to ensure maximum freshness and nutrient retention. If you don’t have a grain mill, check if your local health food store offers grinding services, or use a high-powered blender.
2. Water
Water hydrates the flour and activates the yeast. The quality of water can impact your bread’s texture, so filtered water is ideal if available.
- Pro Tip: The water should be warm but not hot (around 105-115°F) to properly activate the yeast without harming it.
3. Yeast
Yeast is the leavening agent that makes your bread rise, giving it a light, airy texture. You can use active dry yeast or instant yeast, whichever you have on hand.
- Pro Tip: Fresh ground flour can be denser than refined flour, so you might need to slightly increase the yeast to ensure a good rise.
4. Salt
Salt enhances the flavor of the bread and regulates the fermentation process, preventing the dough from rising too quickly.
- Pro Tip: Use fine sea salt or kosher salt for even distribution. Coarse salt might not dissolve properly in the dough.
5. Honey or Sweetener
A small amount of honey or another natural sweetener like maple syrup or molasses feeds the yeast, helping it to rise and adding a touch of sweetness to balance the earthy whole grain flavor.
- Pro Tip: You can omit the sweetener if you prefer, though the bread may be slightly less tender.
6. Oil or Butter (Optional)
Adding a bit of oil or butter enriches the dough, making it softer and more tender. While optional, it’s recommended if you prefer a lighter crumb.
- Pro Tip: Olive oil, melted butter, or coconut oil all work well. If you want a leaner loaf, feel free to skip this ingredient.
Step-by-Step Instructions
Making bread with fresh ground flour is a rewarding process that involves a few simple steps. Here’s how to do it:
Ingredients:
- 4 cups fresh ground flour (whole wheat, spelt, or a mix)
- 1 1/2 cups warm water (105-115°F)
- 2 1/4 teaspoons active dry yeast (1 packet)
- 1 tablespoon honey or maple syrup
- 1 1/2 teaspoons salt
- 2 tablespoons olive oil or melted butter (optional)
Instructions:
1. Activate the Yeast
In a large mixing bowl, combine the warm water and honey. Stir until the honey dissolves, then sprinkle the yeast over the top. Let it sit for 5-10 minutes until it becomes frothy—this means the yeast is active and ready to use.
- Pro Tip: If the yeast doesn’t foam, it may be inactive or old. Start again with a fresh packet.
2. Mix the Dough
Once the yeast is activated, add the fresh ground flour, salt, and oil or butter (if using) to the bowl. Stir with a wooden spoon or use a stand mixer with a dough hook to mix until a shaggy dough forms.
- Pro Tip: If the dough is too dry, add water a tablespoon at a time until it comes together. If it’s too sticky, add a bit more flour.
3. Knead the Dough
Turn the dough out onto a lightly floured surface and knead for about 10 minutes until smooth and elastic. If using a stand mixer, knead on low speed for 6-8 minutes. Proper kneading develops the gluten, which is crucial for structure.
- Pro Tip: The dough should feel slightly tacky but not sticky. Dust it lightly with flour as you knead if needed.
4. First Rise
Place the dough in a lightly oiled bowl, turning it to coat all sides. Cover the bowl with a clean kitchen towel or plastic wrap and let it rise in a warm, draft-free spot for 1-2 hours, or until doubled in size.
- Pro Tip: Aim for a rising environment of 75-80°F. If your kitchen is cool, you can place the dough in a turned-off oven with the light on.
5. Shape the Dough
After the first rise, punch down the dough to release the gas. Turn it out onto a floured surface and shape it into a loaf. You can place it in a greased loaf pan or shape it into a round boule for a rustic look.
- Pro Tip: Dust the top with flour for a rustic appearance before the second rise.
6. Second Rise
Cover the shaped dough with a towel and let it rise again for 30-45 minutes, or until slightly puffed. This second rise ensures a light, airy crumb.
- Pro Tip: Preheat your oven to 375°F (190°C) during the second rise. For a decorative touch, score the top of the loaf with a sharp knife.
7. Bake the Bread
Place the risen dough in the preheated oven and bake for 30-35 minutes, until golden brown and it sounds hollow when tapped on the bottom. If using a loaf pan, aim for an internal temperature of 190°F (88°C).
- Pro Tip: If the bread browns too quickly, tent it with aluminum foil halfway through baking.
8. Cool and Serve
Remove the bread from the oven and let it cool in the pan for 10 minutes, then transfer to a wire rack to cool completely before slicing. This helps set the crumb and prevents it from becoming gummy.
- Pro Tip: Resist slicing the bread while it’s warm, as this can make the crumb too dense.
Presentation and Serving Suggestions

Fresh ground flour bread is as visually appealing as it is delicious. Here’s how to serve it:
1. Plating and Slicing
For a rustic presentation, serve the bread on a wooden cutting board with a serrated knife. Slice thickly for sandwiches or thinly for toast.
2. Accompaniments
Pair this bread with various toppings like butter and honey, avocado, poached eggs, or your favorite jam. It’s also excellent for hearty sandwiches with fresh ingredients like tomatoes, lettuce, and cheese.
3. For Special Occasions
For a special touch, serve the bread alongside a selection of cheeses, charcuterie, and olives as part of a rustic appetizer platter. The earthy flavor complements these ingredients perfectly.
4. Storage Tips
Store leftover bread in a bread bag or wrapped in a kitchen towel to keep the crust crisp. Fresh bread is best within a few days, but you can also freeze it for longer storage.
Variations and Dietary Adaptations
This recipe is versatile and can be customized to suit different tastes and dietary needs:
1. Gluten-Free Version
To make a gluten-free loaf, use a gluten-free flour blend designed for bread. Adjust the liquid and consider adding a binder like xanthan gum for structure.
2. Adding Seeds and Grains
For extra texture and nutrition, add seeds like flax, chia, or sunflower seeds. You can also mix in rolled oats or millet for a heartier loaf.
3. Different Grains
Experiment with other grains like spelt, rye, or einkorn. Each brings unique flavors and textures, offering endless bread-baking possibilities.
4. Herbs and Spices
Add a tablespoon of dried herbs like rosemary or thyme, or spices like cinnamon for a flavorful twist.
FAQs
1. Can I use store-bought whole wheat flour instead of fresh ground?
Yes, but the flavor and nutritional content won’t be as robust. You might need to adjust the liquid since store-bought flour can be more absorbent.
2. How can I tell if my dough is kneaded enough?
The dough is ready when it’s smooth and elastic. To test, stretch a small piece of dough—if it stretches thin without tearing, it’s ready.
3. Why didn’t my bread rise properly?
Bread may not rise if the yeast is old or inactive, the water temperature is off, or the dough was in a drafty environment. Ensure your yeast is fresh and the dough is kept warm.
4. Can I freeze the dough for later use?
Yes, freeze the dough after the first rise. Shape it, wrap tightly, and freeze. Thaw and let it rise before baking as directed.
5. What’s the best way to store fresh ground flour?
Store fresh ground flour in an airtight container in the refrigerator or freezer to preserve nutrients and prevent rancidity. Use within a few weeks for the best flavor.
6. How can I make my bread crustier?
For a crustier loaf, start baking at 425°F for the first 10 minutes, then lower the heat. Adding a pan of water to the oven creates steam, which helps develop a crisp crust.
Conclusion
Baking bread with fresh ground flour is a fulfilling experience that connects you to the roots of traditional bread-making. The result is a loaf that’s not only delicious but also packed with nutrients, offering a wholesome alternative to store-bought bread. Whether you’re a seasoned baker or a beginner, this recipe is straightforward and adaptable, allowing you to create a beautiful loaf that reflects your personal tastes.
So why not give it a try? Grinding your own flour and baking your own bread is a journey worth taking, leading to a healthier, tastier, and more satisfying loaf. Share your creations and variations, and enjoy the simple pleasure of homemade bread made from fresh ground flour!
