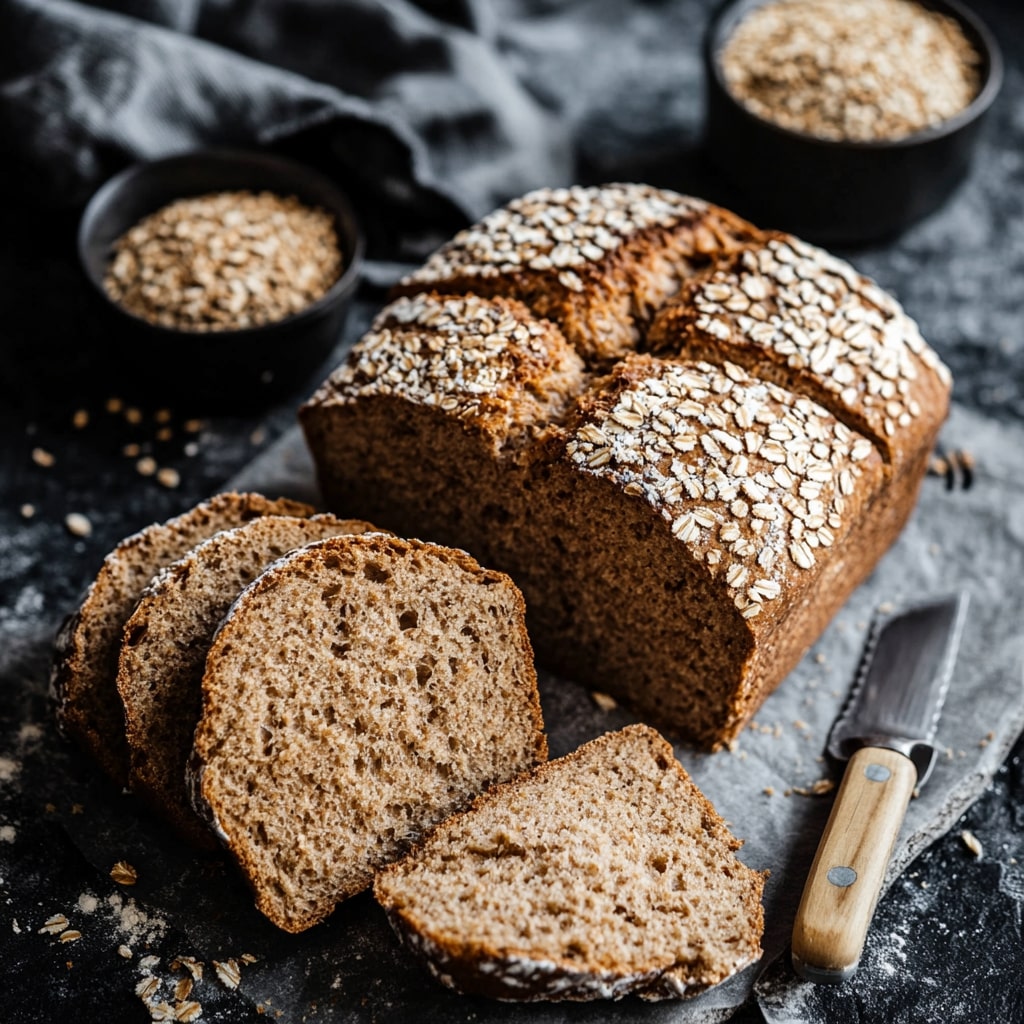
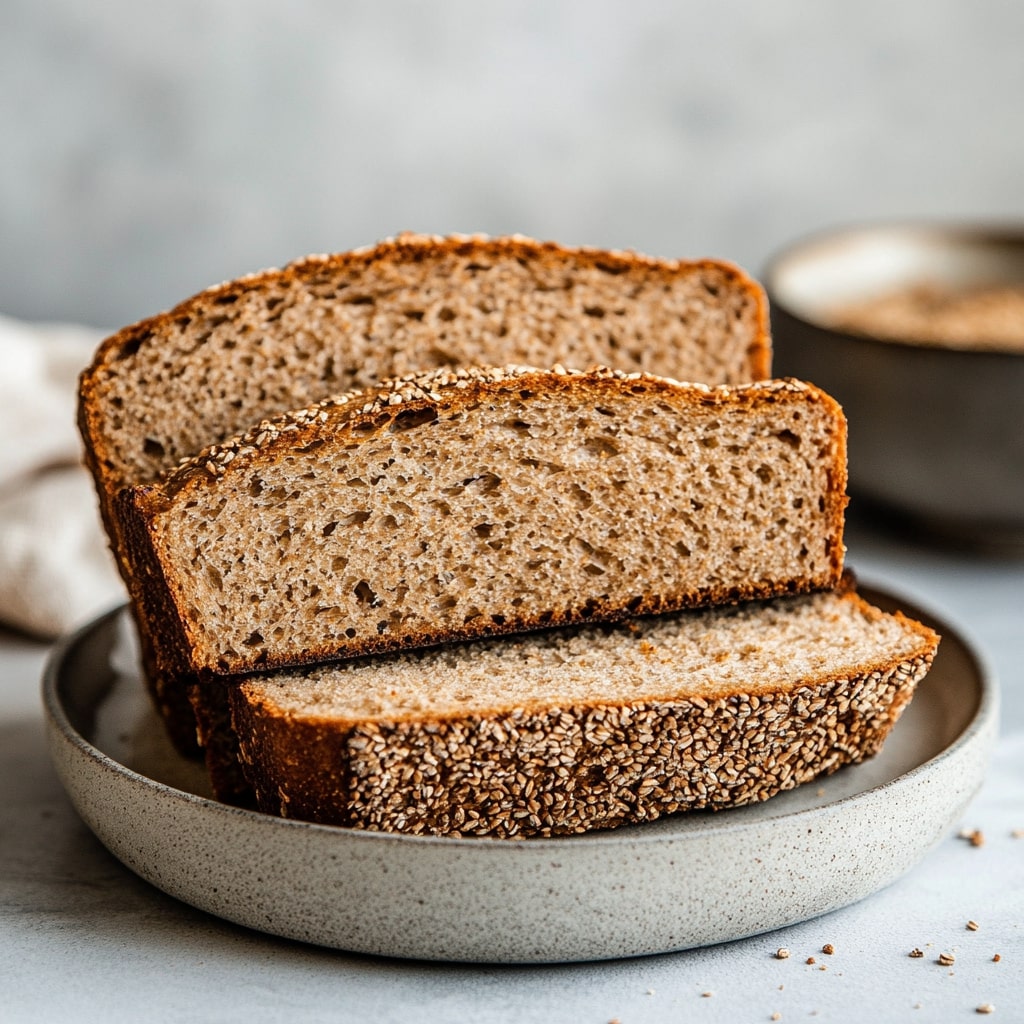
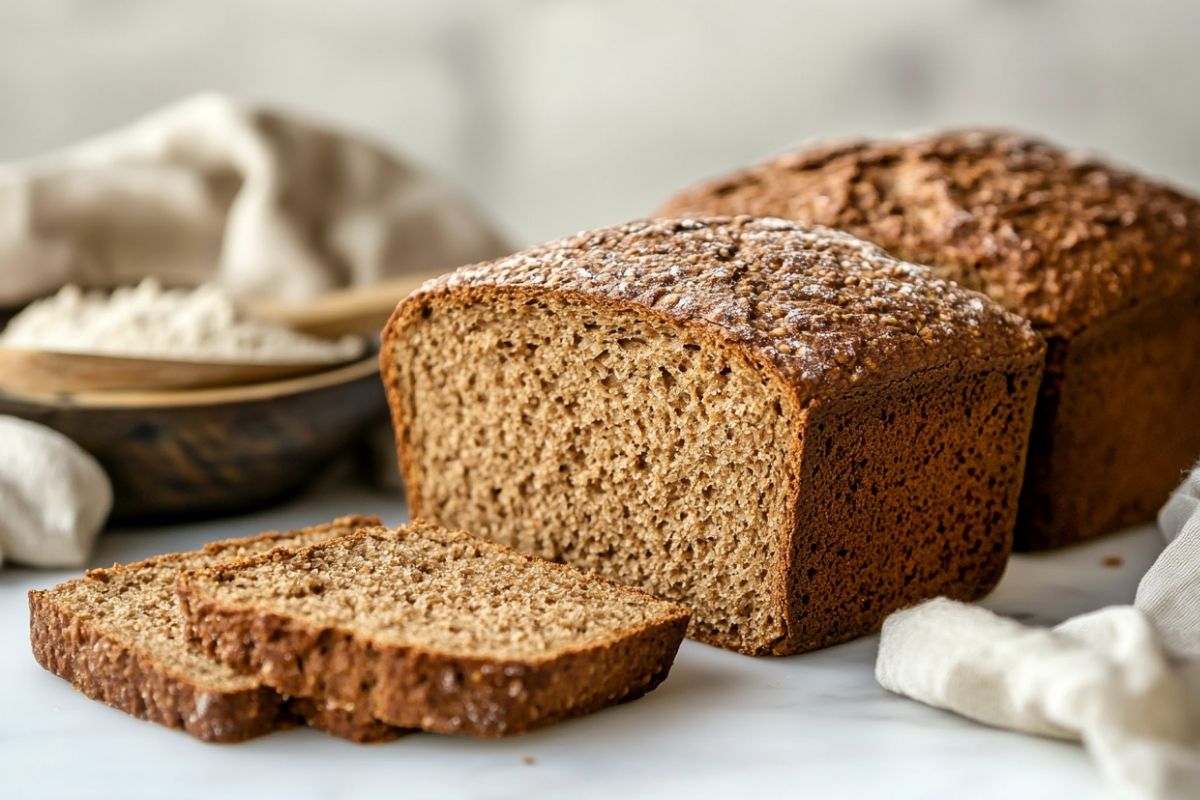
Baking bread is one of those simple pleasures that fills your home with warmth and the comforting scent of something delicious rising in the oven. But when it comes to Dakota Bread, we’re talking about a whole new level of homemade goodness.
This nutty, seeded loaf is packed with hearty ingredients that not only taste amazing but also offer a satisfying texture in every bite. Whether you’re a seasoned baker or just getting your hands floury for the first time, this recipe is perfect for anyone looking to create a loaf that’s as nourishing as it is flavorful.
I still remember the first time I tried Dakota Bread at a local bakery. The name itself intrigued me—I mean, what exactly is Dakota Bread? It turns out it’s a rustic, multi-grain loaf, brimming with a variety of seeds and nuts that create an irresistible crunch. After just one bite, I was hooked.
It had this incredible combination of textures—crunchy on the outside, soft and chewy on the inside, with just the right amount of sweetness. It was the kind of bread you want to eat plain, straight from the oven, or slathered with a generous pat of butter. I couldn’t resist recreating it at home, and now, I’m excited to share this wonderful recipe with you.
Why You’ll Love This Dakota Bread Recipe
There are countless reasons to fall in love with Dakota Bread, but let’s start with the most obvious: it’s incredibly delicious! The combination of whole grains, seeds, and nuts gives this bread a rich, nutty flavor that’s hard to beat. Plus, the added honey provides a subtle sweetness that perfectly balances the savory notes. Whether you enjoy it toasted with a bit of butter, as a base for a hearty sandwich, or dipped in your favorite soup, this bread is sure to become a staple in your kitchen.
Another reason to love this recipe is its versatility. Dakota Bread isn’t just a one-note loaf. You can easily adapt it to suit your taste or dietary needs by swapping out ingredients or adding your own twist. Gluten-free? No problem! Prefer more or fewer seeds? You’ve got it! This recipe is all about making something that you and your family will enjoy.
And let’s not forget the sense of accomplishment that comes with baking your own bread. There’s something truly satisfying about mixing the ingredients, kneading the dough, and watching it rise. Even if you’ve never baked bread before, this recipe is simple enough to follow, yet yields results that will make you feel like a seasoned pro.
Key Ingredients That Make Dakota Bread Special

1. Whole Wheat Flour
The backbone of any good Dakota Bread is the flour. For this recipe, we’re using whole wheat flour, which adds a hearty flavor and texture. Whole wheat flour is rich in fiber and nutrients, making it a healthier option than white flour. When selecting your flour, look for one that’s finely ground, as it will help create a smoother dough. If you prefer a lighter loaf, you can substitute part of the whole wheat flour with all-purpose flour.
2. Honey
Honey adds a natural sweetness to the bread, balancing out the earthy flavors of the whole grains and seeds. It also helps keep the bread moist and tender. I recommend using a mild honey, such as clover or wildflower, so it doesn’t overpower the other flavors. If you’re vegan or prefer not to use honey, you can substitute it with maple syrup or agave nectar for a similar effect.
3. Seeds
The seeds are what give Dakota Bread its distinctive crunch and flavor. This recipe typically calls for a mix of sunflower seeds, sesame seeds, and poppy seeds. Sunflower seeds add a nutty flavor, while sesame seeds contribute a toasty richness. Poppy seeds provide a subtle crunch that enhances the overall texture. Feel free to experiment with other seeds like flaxseeds or chia seeds if you want to mix things up.
4. Nuts
Adding nuts to the bread gives it an extra layer of texture and flavor. Walnuts and pecans are popular choices for Dakota Bread, but you can use whatever you have on hand. Almonds, hazelnuts, or even pistachios would work beautifully. Just be sure to chop the nuts roughly so that they’re evenly distributed throughout the dough.
5. Oats
Oats bring a comforting, homey quality to the bread. They also add a bit of chewiness and help to absorb moisture, ensuring the bread stays soft for longer. Use rolled oats for the best texture, as quick oats can make the bread too dense.
6. Yeast
To get that perfect rise, we’ll be using active dry yeast. Yeast is a crucial ingredient in bread-making, as it ferments the sugars in the dough, producing carbon dioxide and causing the dough to rise. Make sure your yeast is fresh and active for the best results. If you’re unsure, you can proof it in warm water with a bit of sugar to check if it bubbles.
7. Salt
Salt is an essential ingredient in bread, enhancing the flavor of the other ingredients and controlling the fermentation process. Without salt, your bread would taste flat and could rise too quickly, resulting in a less desirable texture.
8. Water
Water is the key to bringing all the ingredients together. The temperature of the water is important—it should be warm but not hot, ideally between 105-110°F (40-43°C). This helps to activate the yeast without killing it, ensuring a good rise.
Step-by-Step Instructions: Let’s Bake Some Dakota Bread!
Now that we’ve covered the essentials, it’s time to get baking! Follow these easy steps, and you’ll have a warm, crusty loaf of Dakota Bread ready in no time.
Step 1: Gather Your Ingredients
Before you start, make sure you have all your ingredients measured out and ready to go. This includes your whole wheat flour, honey, seeds, nuts, oats, yeast, salt, and water. Having everything prepped makes the process smoother and more enjoyable.
Step 2: Mix the Dry Ingredients
In a large mixing bowl, combine 3 cups of whole wheat flour, 1/2 cup of rolled oats, 1/4 cup of sunflower seeds, 1/4 cup of sesame seeds, 1/4 cup of chopped nuts, 2 tablespoons of poppy seeds, and 2 teaspoons of salt. Stir everything together until well combined.
Step 3: Activate the Yeast
In a small bowl, dissolve 2 teaspoons of active dry yeast in 1/4 cup of warm water (around 105-110°F). Add 1 tablespoon of honey to the mixture and stir. Let it sit for about 5 minutes until the yeast becomes frothy. This step is crucial for ensuring your bread rises properly.
Step 4: Combine the Wet Ingredients
In a separate bowl, mix together 1/4 cup of honey and 1 1/2 cups of warm water. Once the yeast mixture is frothy, add it to the honey-water mixture, stirring until combined.
Step 5: Make the Dough
Slowly pour the wet ingredients into the bowl with the dry ingredients, stirring with a wooden spoon until a dough forms. The dough will be sticky at first, but don’t worry—that’s what you want! If the dough feels too dry, add a little more water, a tablespoon at a time, until it comes together.
Step 6: Knead the Dough
Once the dough has come together, turn it out onto a floured surface and knead it for about 8-10 minutes. Kneading is essential for developing the gluten, which gives the bread its structure and chewiness. The dough should be smooth and elastic when you’re done.
Step 7: First Rise
Place the kneaded dough into a lightly oiled bowl, cover it with a clean kitchen towel, and let it rise in a warm place for about 1 to 1 1/2 hours, or until it has doubled in size. This first rise allows the yeast to do its job, giving the bread its light, airy texture.
Step 8: Shape the Dough
After the dough has risen, punch it down to release the air. Turn it out onto a floured surface and shape it into a loaf. You can make a traditional oval-shaped loaf, or if you prefer, divide the dough into smaller pieces for individual rolls.
Step 9: Second Rise
Place the shaped dough into a greased loaf pan (or onto a baking sheet if you’re making freeform loaves) and cover it with a towel. Let it rise again for about 30-45 minutes, or until it’s puffy and has risen just above the edge of the pan.
Step 10: Preheat the Oven
While the dough is doing its second rise, preheat your oven to 375°F (190°C). This ensures that the oven is nice and hot when your bread goes in, helping it to rise even more and develop a beautiful crust.
Step 11: Bake the Bread
Once the dough has finished its second rise, it’s time to bake! Place the bread in the preheated oven and bake for 30-35 minutes, or until the crust
is golden brown and the bread sounds hollow when tapped on the bottom. If you’re unsure, you can also check the internal temperature with a food thermometer—it should read around 200°F (93°C) when the bread is fully baked.
Step 12: Cool and Enjoy
After removing the bread from the oven, let it cool in the pan for about 10 minutes, then transfer it to a wire rack to cool completely. As tempting as it is to slice into it right away, letting the bread cool will ensure that the texture is just right. Once cooled, slice it up and enjoy a piece with your favorite spread, or use it as the base for a delicious sandwich.
Presentation and Serving Suggestions for Dakota Bread

When it comes to presenting your Dakota Bread, simplicity is key. The rustic, hearty look of the bread speaks for itself, so there’s no need to go overboard with garnishes. However, you can sprinkle a few extra seeds on top of the dough before baking to give the crust a bit of extra texture and visual appeal.
Serving Ideas:
- Toasted with Butter: There’s nothing quite like a warm slice of Dakota Bread toasted with a generous smear of butter. The combination of the crunchy seeds and creamy butter is simply divine.
- Sandwiches: Use Dakota Bread as the base for a hearty sandwich. It pairs wonderfully with everything from turkey and avocado to grilled vegetables and hummus.
- Soup Dipper: Serve a slice alongside a bowl of your favorite soup. The nutty flavors of the bread complement both creamy and broth-based soups beautifully.
Adapting for Different Occasions:
For a more festive presentation, consider baking smaller, individual loaves or rolls that can be served at a dinner party or holiday gathering. You can also experiment with different shapes—braiding the dough or creating decorative slashes on the surface before baking can add a special touch.
If you liked this, you’ll absolutely love our Fresh Ground Flour Bread Recipe. Try it next!
Variations and Dietary Adaptations for Dakota Bread
One of the best things about Dakota Bread is how easy it is to customize. Whether you’re looking to try new flavors or need to accommodate dietary preferences, this recipe is incredibly flexible.
1. Gluten-Free Dakota Bread
If you’re avoiding gluten, you can still enjoy this delicious bread by using a gluten-free flour blend. Look for a blend that includes xanthan gum, as this helps mimic the elasticity of gluten. Keep in mind that the texture may be slightly different, but the flavor will still be amazing.
2. Vegan Dakota Bread
To make this recipe vegan, simply swap the honey for a plant-based sweetener like maple syrup or agave nectar. The rest of the ingredients are naturally vegan, so you won’t need to make any other changes.
3. Seed and Nut Substitutions
Feel free to get creative with the seeds and nuts you use in this bread. Flaxseeds, pumpkin seeds, and hemp seeds are all excellent additions, as are almonds, hazelnuts, or cashews. You can also adjust the quantities based on your preferences—just make sure the total amount of seeds and nuts equals about 1 to 1 1/2 cups.
4. Sweet Dakota Bread
For a sweeter take, try adding dried fruit like cranberries, raisins, or chopped apricots to the dough. This turns the bread into a delightful breakfast treat or a snack that pairs perfectly with a cup of tea.
5. Savory Dakota Bread
If you prefer a more savory loaf, consider adding some fresh or dried herbs to the dough. Rosemary, thyme, and sage all complement the nutty flavors of the bread beautifully. You could even sprinkle a little shredded cheese on top before baking for an extra indulgent touch.
Frequently Asked Questions
1. Can I make Dakota Bread without a stand mixer?
Absolutely! While a stand mixer can make the process easier, you can knead the dough by hand. It might take a bit more elbow grease, but the results are just as rewarding.
2. How do I store Dakota Bread?
To keep your bread fresh, store it in a bread box or wrap it in a clean kitchen towel and keep it at room temperature. It will stay fresh for 2-3 days. For longer storage, slice the bread and freeze it in an airtight bag.
3. Can I make this Dakota Bread ahead of time?
Yes! You can prepare the dough a day in advance and let it rise in the refrigerator overnight. Just bring it to room temperature before shaping and baking.
4. What if my Dakota Bread doesn’t rise?
If your bread doesn’t rise, it could be due to inactive yeast, water that was too hot or cold, or a drafty environment. Make sure your yeast is fresh and that the dough is kept in a warm, draft-free spot for rising.
5. Can I double the recipe?
Certainly! This recipe can easily be doubled if you want to make an extra loaf or freeze one for later. Just be sure to use a larger mixing bowl and adjust the baking time as needed.
6. What’s the best way to slice Dakota Bread?
For the best results, use a serrated bread knife and let the bread cool completely before slicing. This will help you get clean, even slices without squishing the loaf.
Conclusion
Dakota Bread is more than just a loaf of bread—it’s a celebration of wholesome ingredients, delightful textures, and the simple joy of baking. Whether you’re making it for a special occasion or just because, this recipe is sure to become a favorite in your home. The combination of whole grains, seeds, and nuts creates a bread that’s not only delicious but also packed with goodness. And the best part? You can make it your own by experimenting with different ingredients, flavors, and shapes.
So why not give it a try? Get your hands on some quality ingredients, set aside a little time, and enjoy the process of creating something truly wonderful. I guarantee that once you’ve baked your first loaf of Dakota Bread, you’ll be coming back to this recipe again and again. And when you do, don’t forget to share your creations—I’d love to hear about your variations and see how you’ve made this recipe your own. Happy baking!
